
Glenn Torrance 1/3 Scale Fokker D.VII Covering |
Covering a 1/3 scale model is a bit of an undertaking. Because of the areas to be covered the cost of materials can be considerable so savings have to be made where possible. It requires some thought depending on the scheme you are pursuing as that can limit the options available to you. For me the Schwaben scheme will be far from simple and drifts greatly from it's factory livery. However, in some ways it will have something of an advantage.
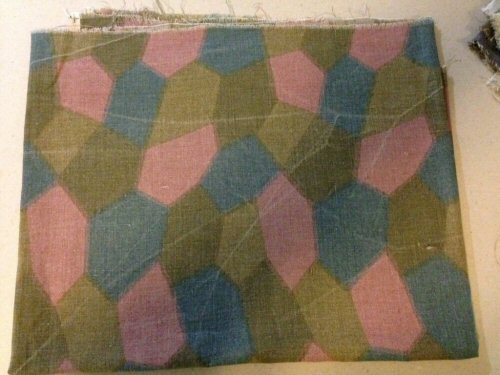
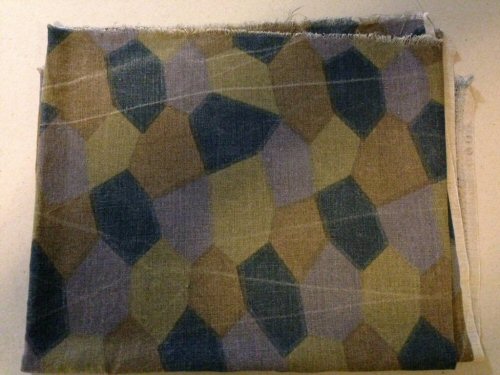
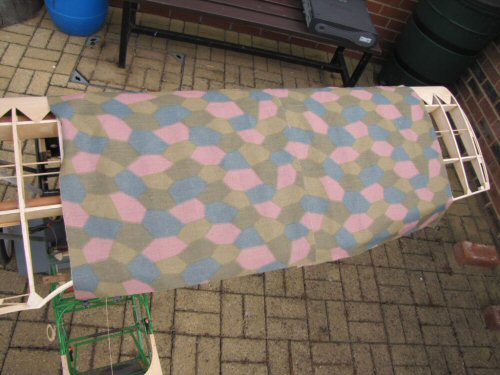
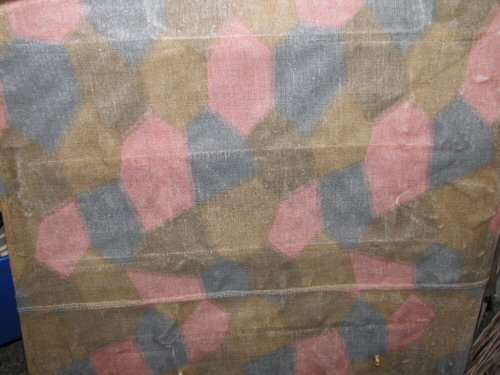
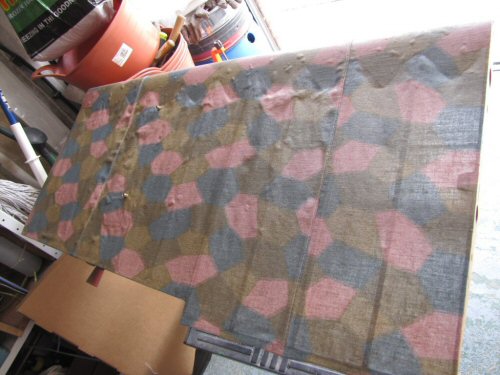
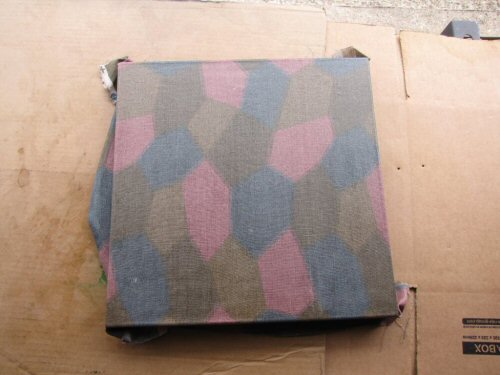
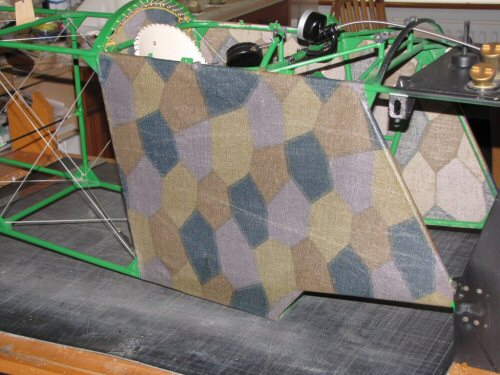
Wings are covered in standard 4 colour lozenge so I purchased stock from Glenn Torrance, easy enough . . . .
Fuselage is painted grey or light blue (decision has to be made soon) so it could be something lighter than Irish Linen. Unfortunately inside the cockpit the lining needs to be the reversed side of lozenge. I have three options to investigate. 1. Apply lozenge all over the fuselage, 2. Printed lozenge on the inner surfaces of the Diatex (if that's possible), or 3. A section of lozenge under the Diatex where it can be seen. Experimentation will have to be done to see which option can be achieved.
Tail feathers are easier to tackle. Rudder and fin are white, and horizontal stab and elevator chocolate brown for Jasta 65. All of these surfaces can therefore be covered with Diatex 1000 to save weight. So let's get on with the going . . .
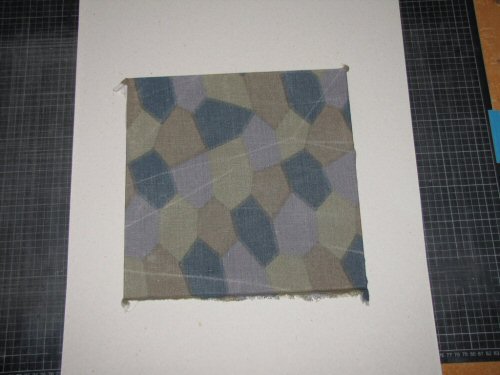
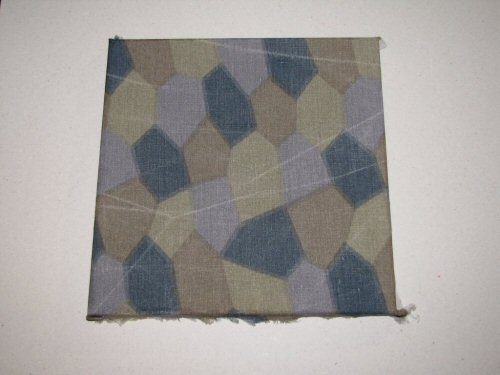
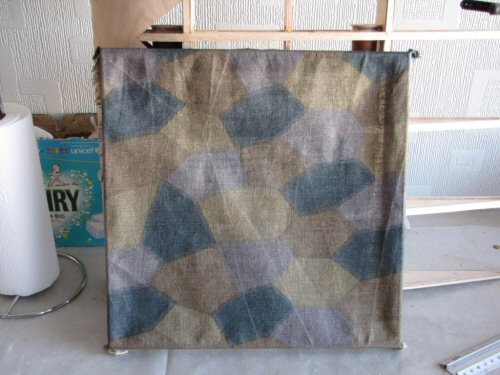
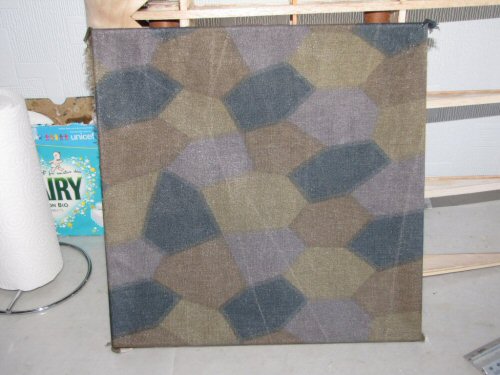
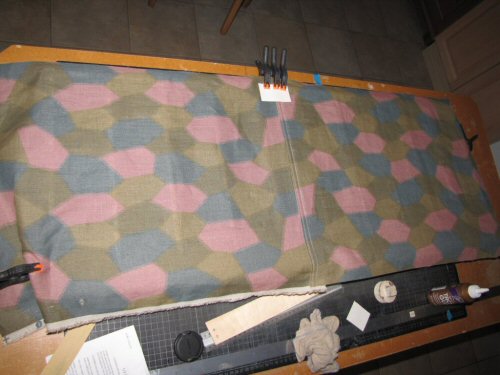
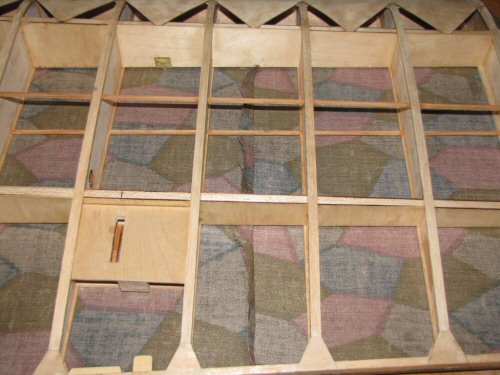
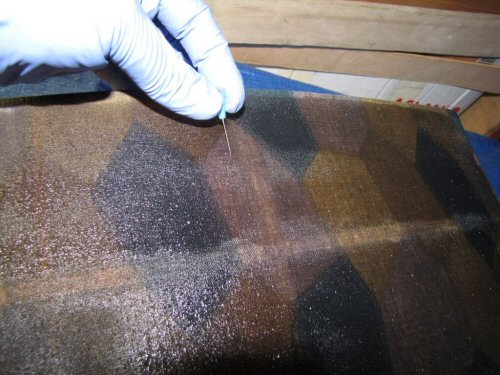
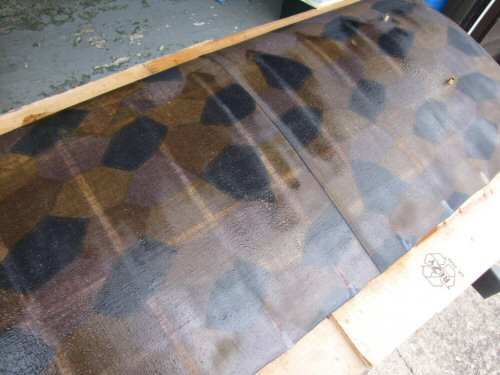
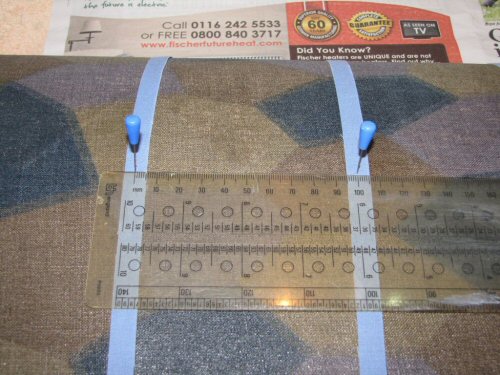
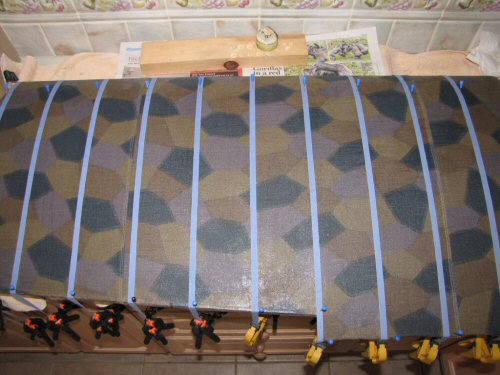
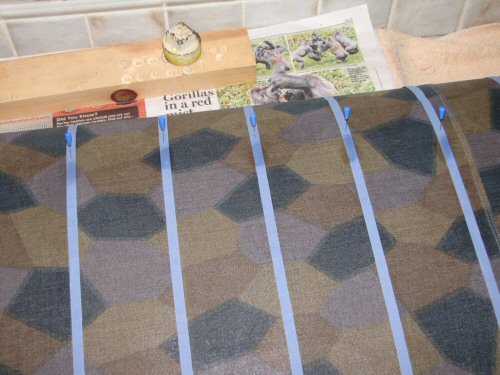
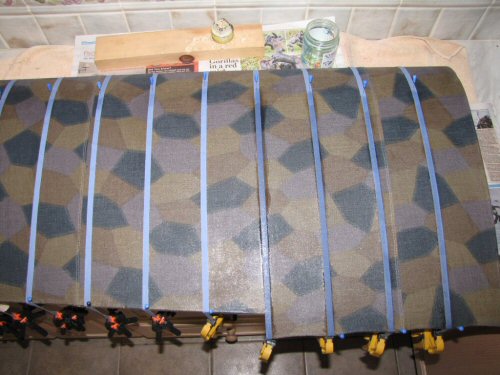
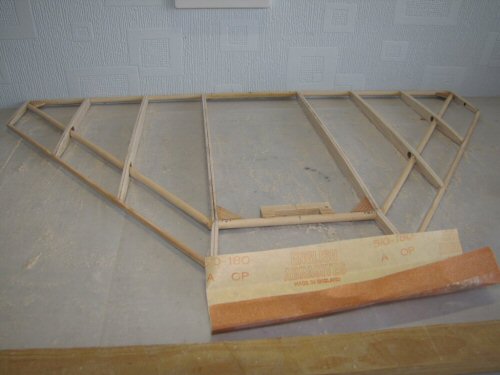
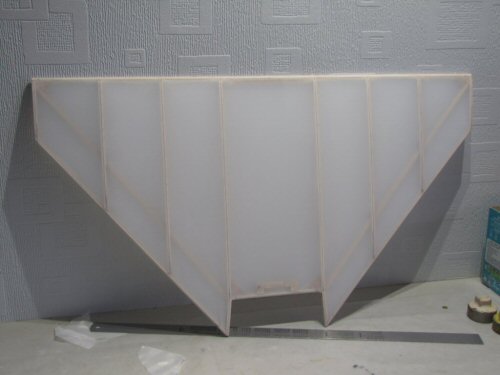
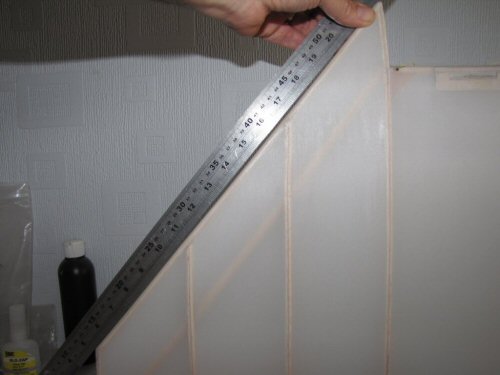
Testing GTM Lozenge
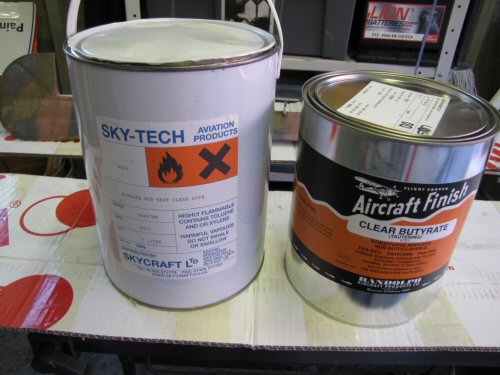
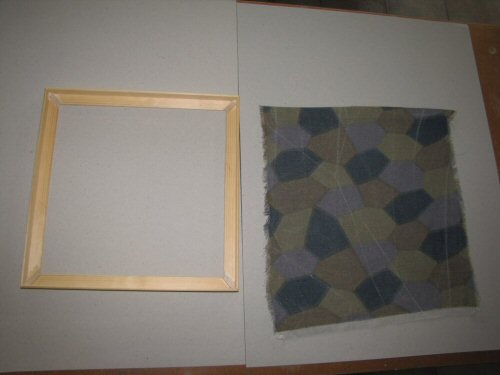
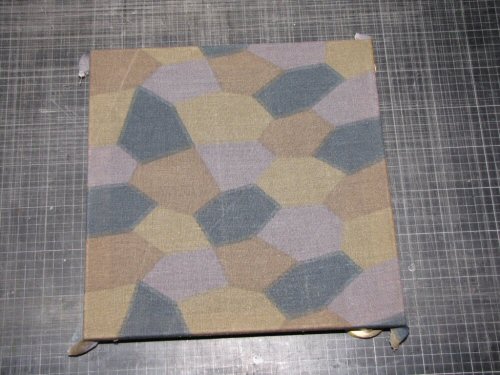
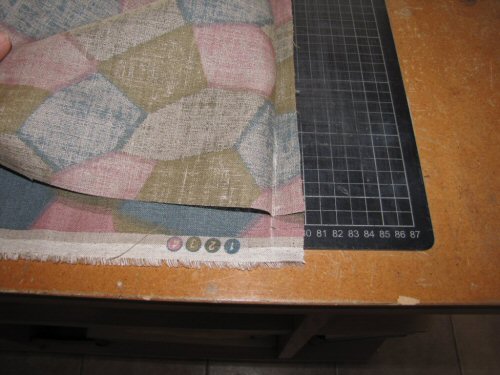
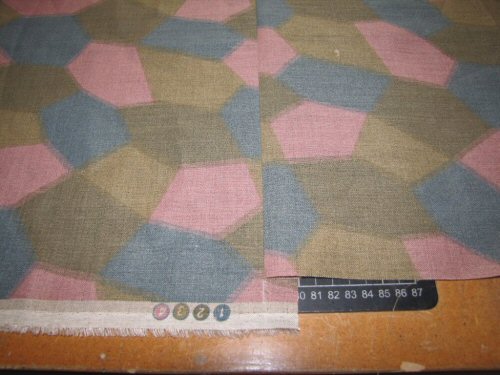
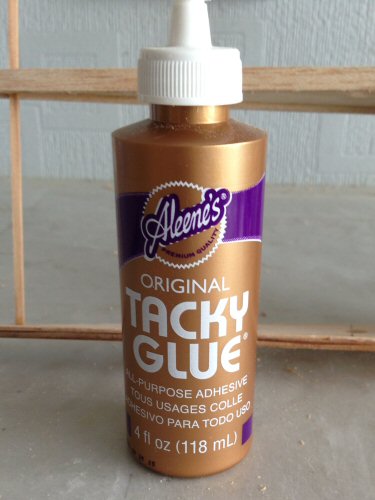
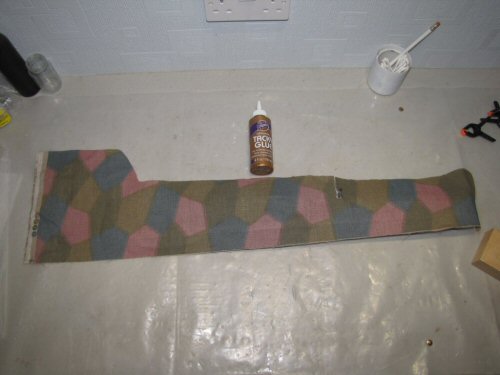
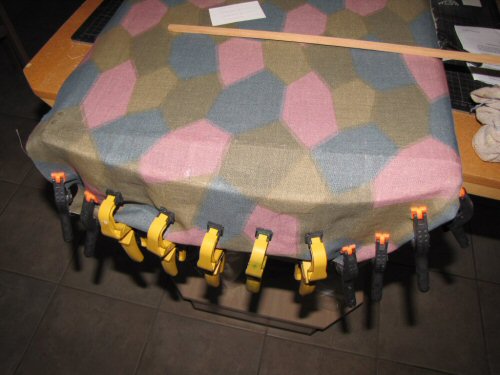
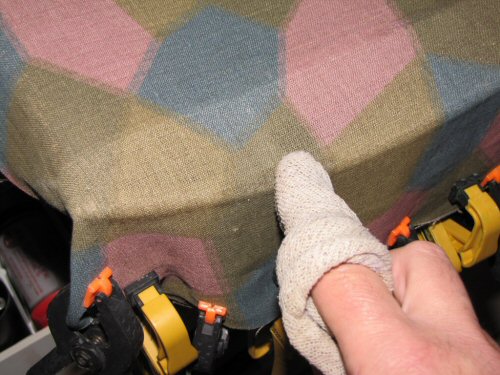
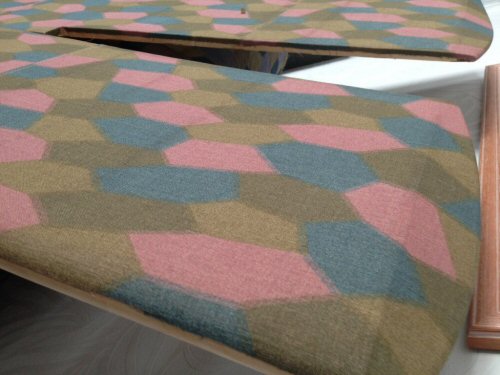
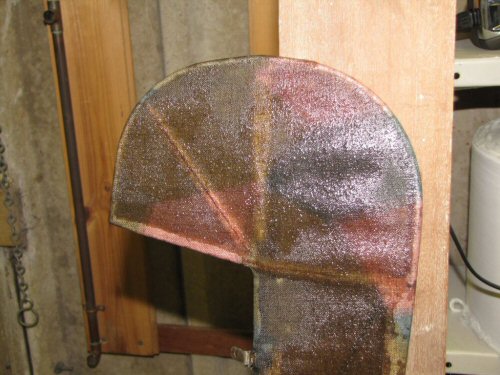
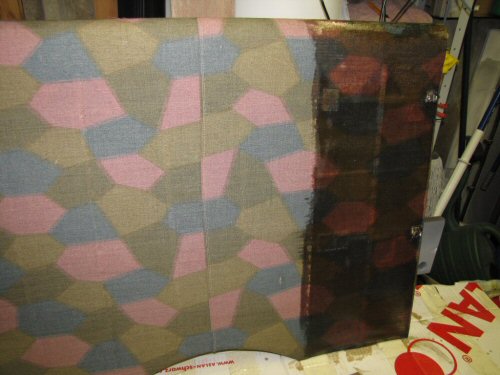
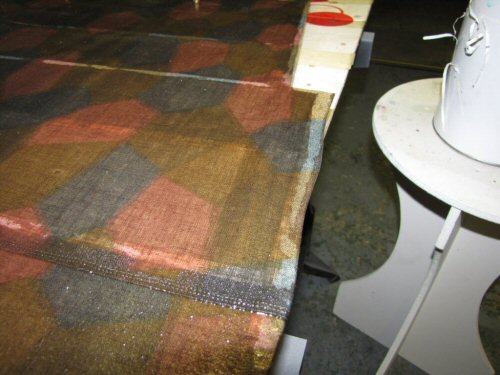
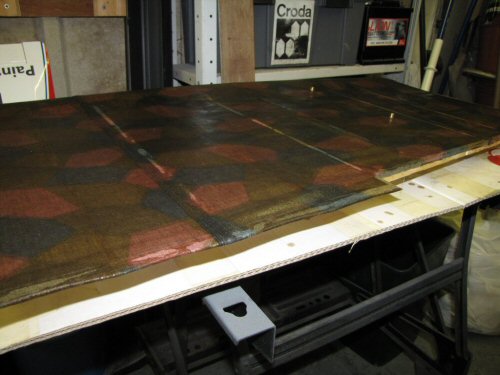
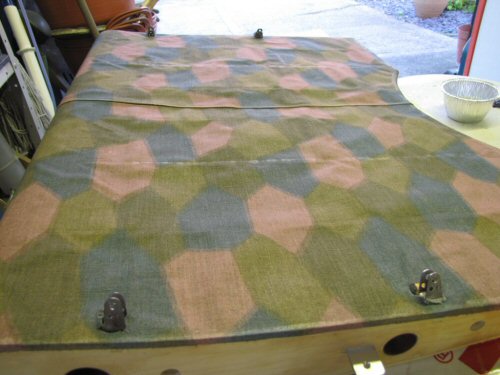
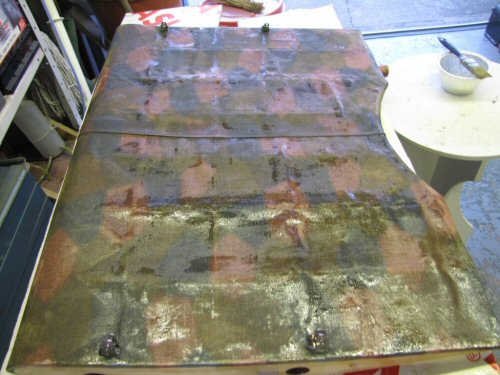
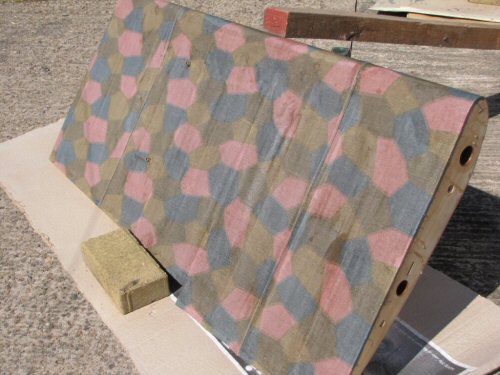
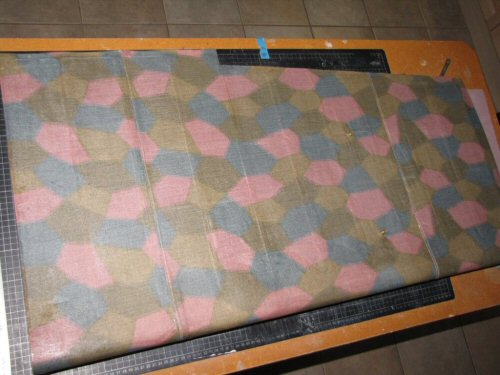
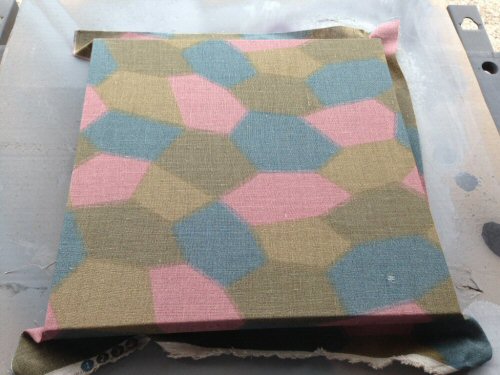
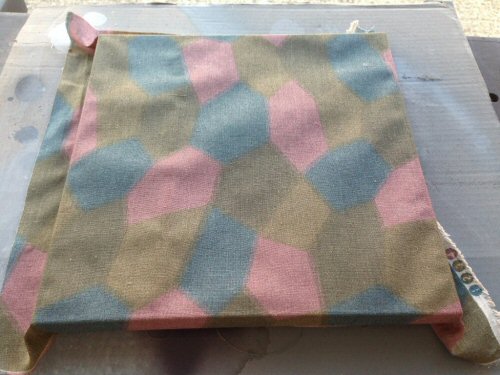
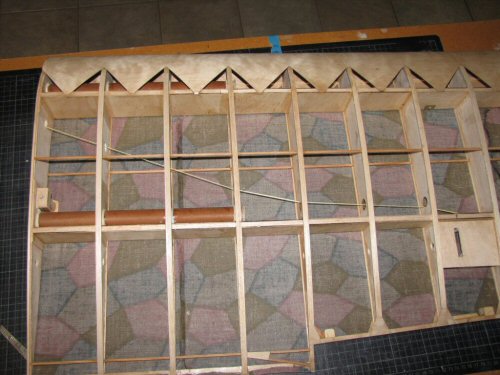
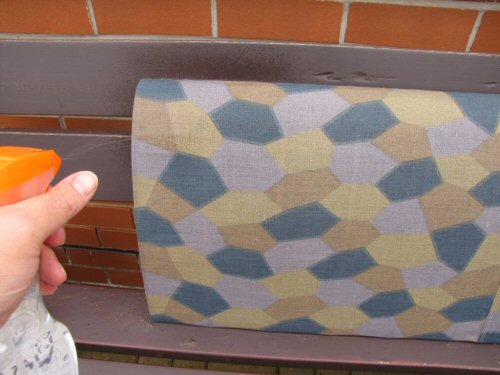
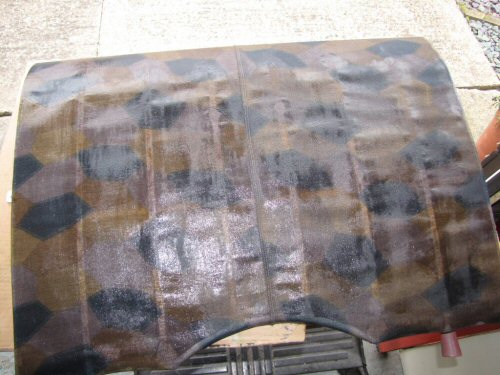
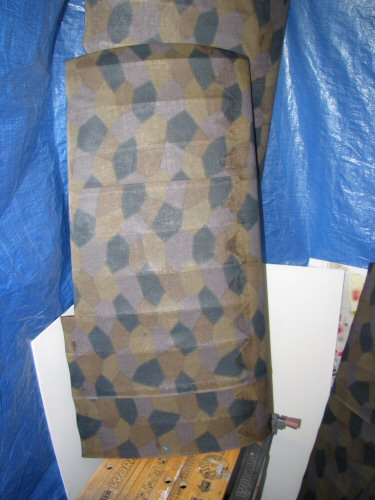
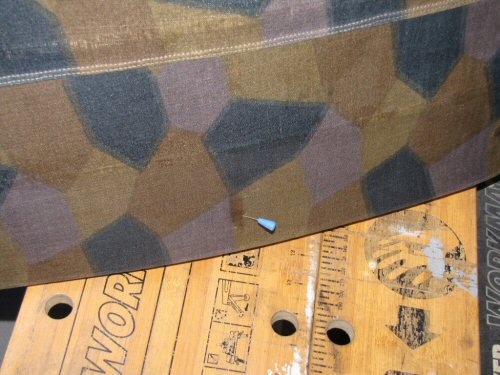
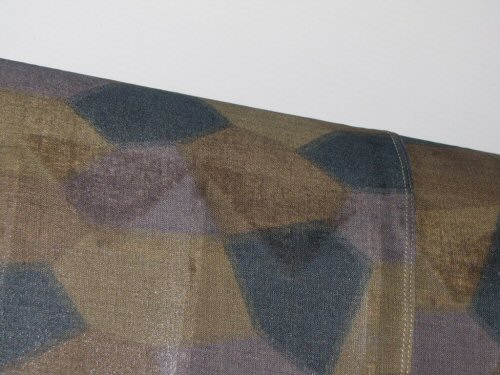
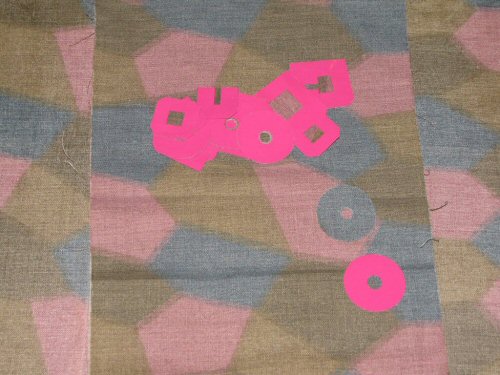
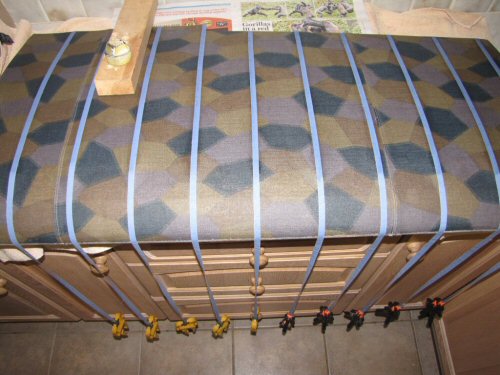
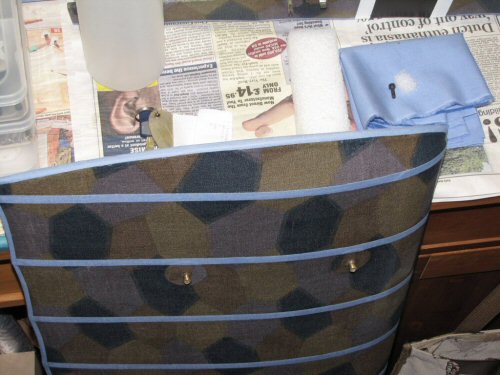
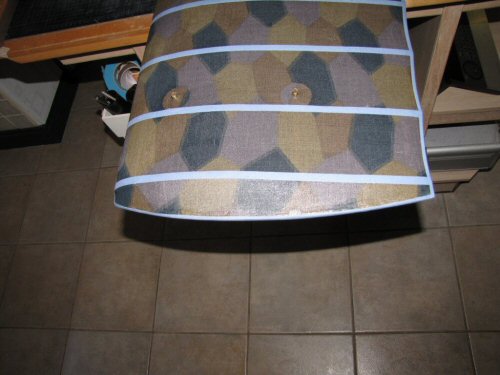
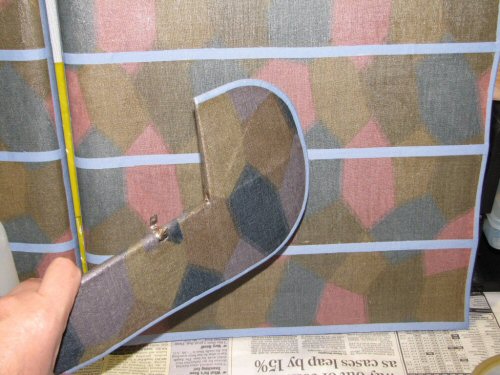
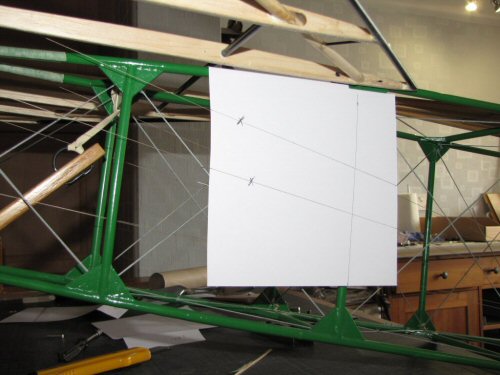
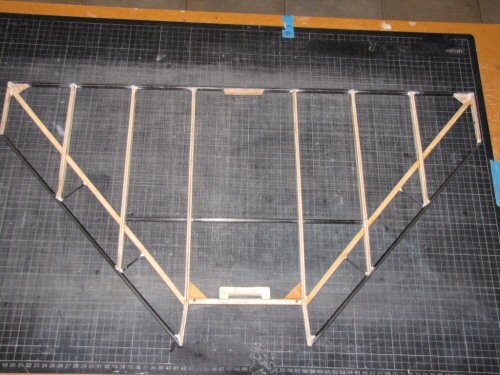
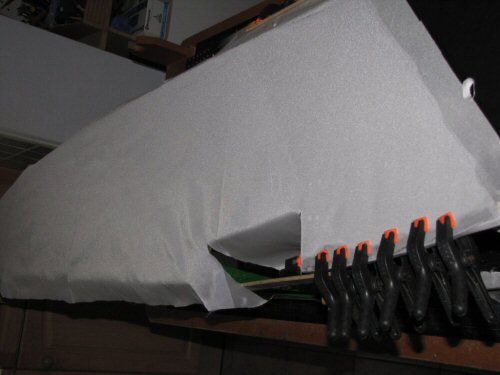
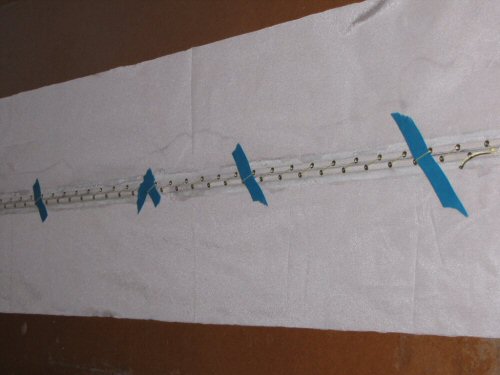
Having never worked with fabric and dope previously I decided to experiment. I made a simple frame up to test the application process and subsequent doping procedure. GTM provided a guide sheet for the process which was very informative. Glenn is constantly reviewing this document so If you need a copy I suggest contacting him directly.
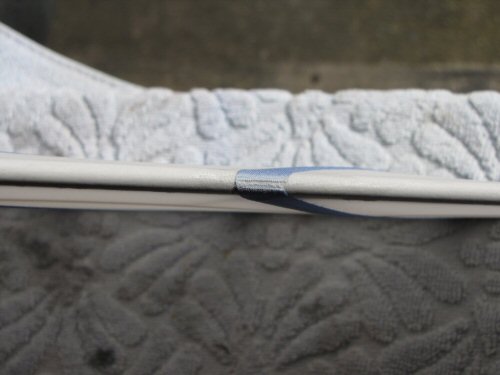
I was told by a few people to wash the fabric a few times to remove some of the stiffness of the fabric. Well, my advice is to do nothing! Simply Iron it to get rid of the creases and start using it. You will see why in the pictures!
 |
 |
 |
 |
 |
 |
| 1. Click for Detail | 2. Click for Detail | 3. Click for Detail | 4. Click for Detail | 5. Click for Detail | 6. Click for Detail |
 |
 |
 |
 |
 |
 |
| 7. Click for Detail | 8. Click for Detail | 9. Click for Detail | 10. Click for Detail | 11. Click for Detail | 12. Click for Detail |
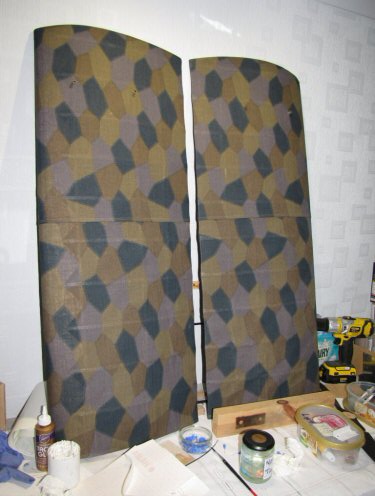
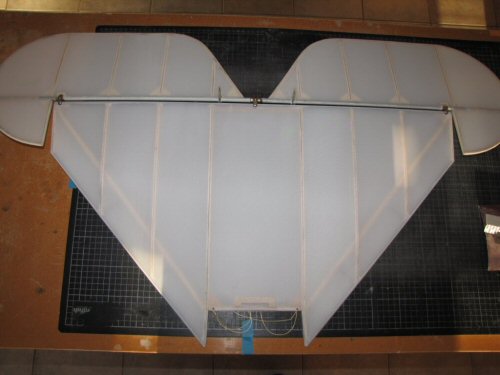
On the model
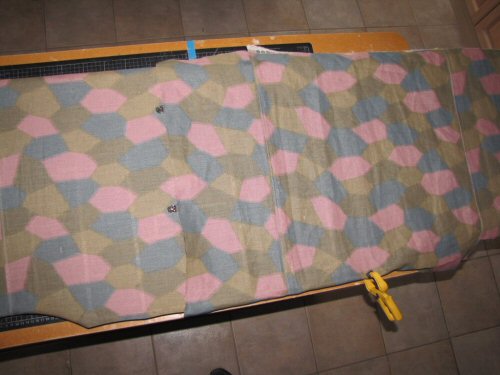
Having received the replacement fabric it was ironed and stored flat until required. There are 3 stages to fabric application.
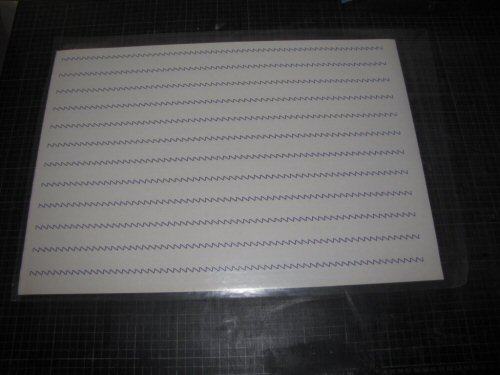
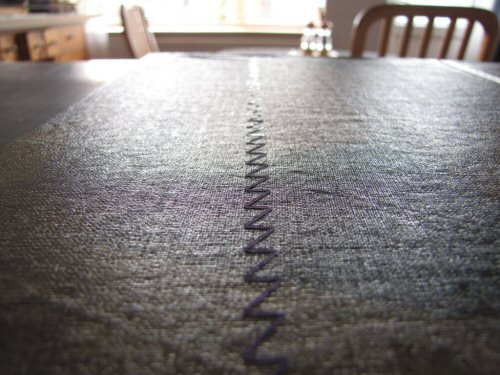
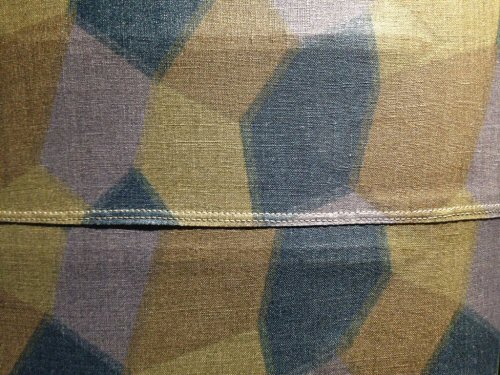
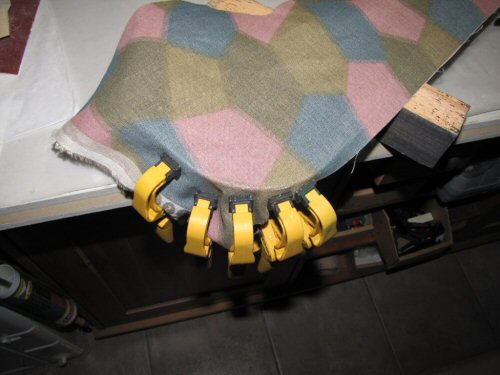
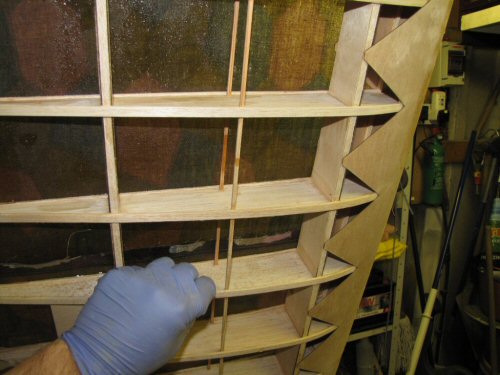
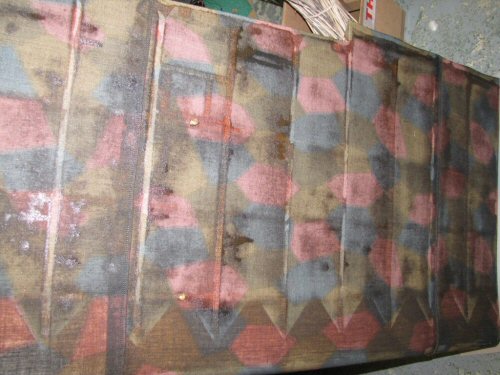
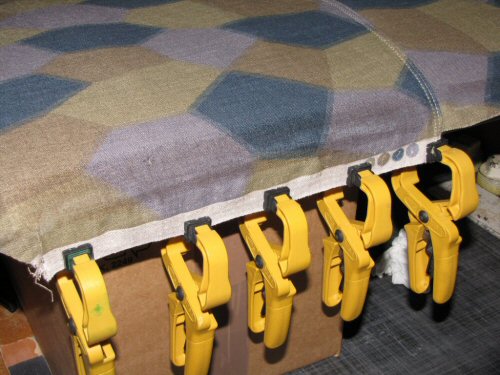
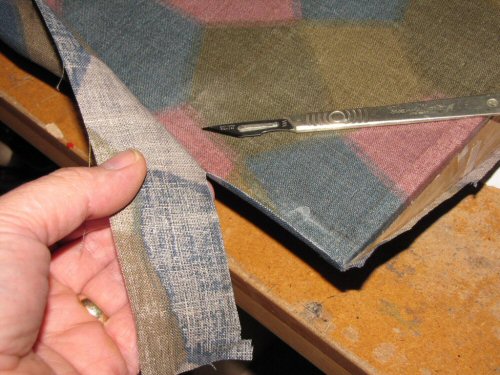
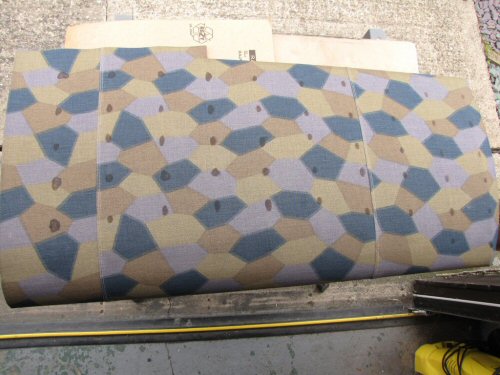
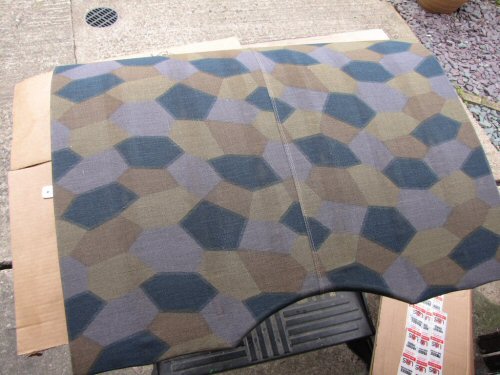
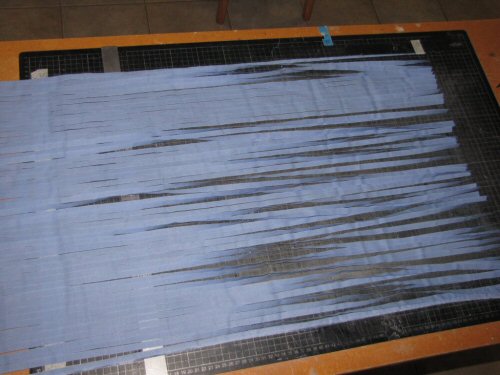
1. Sewing panels together
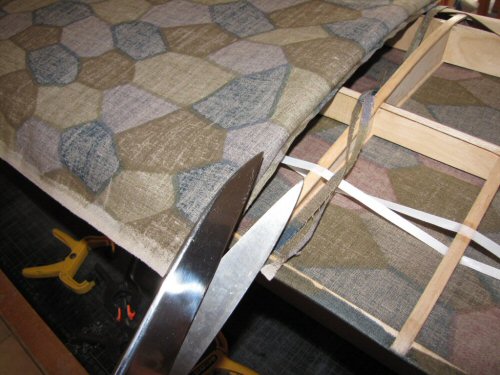
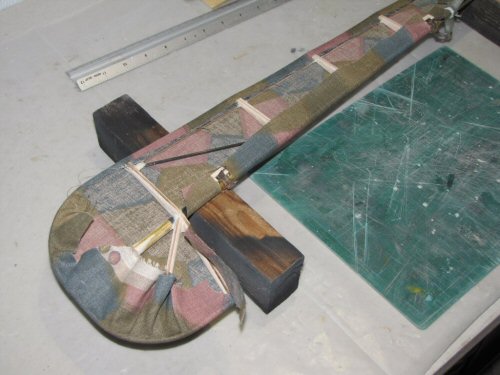
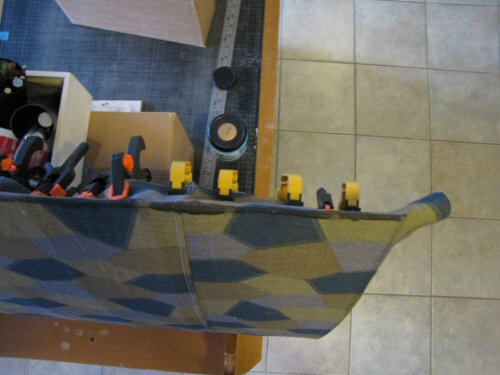
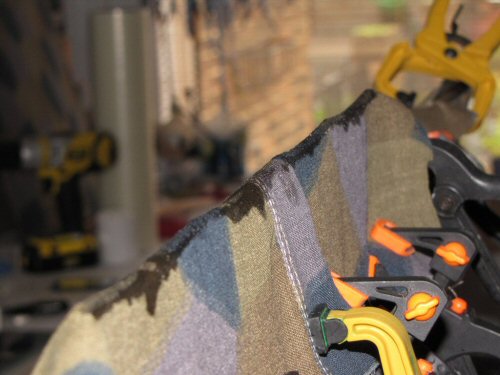
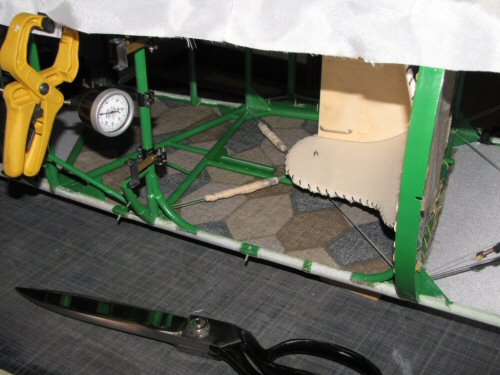
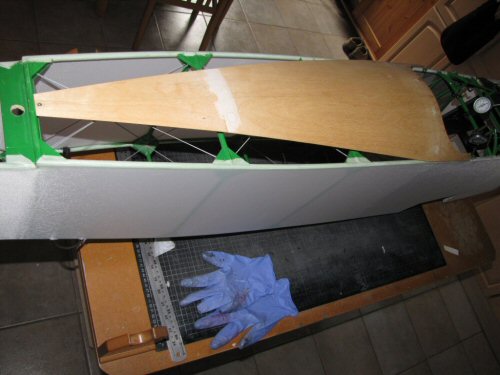
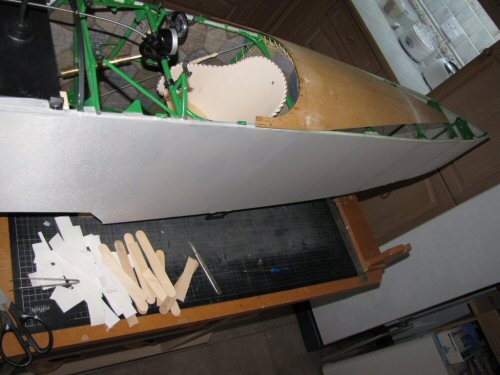
2. Fitting fabric to airframe
3. Doping
 |
 |
 |
 |
 |
 |
| 1. Click for Detail | 2. Click for Detail | 3. Click for Detail | 4. Click for Detail | 5. Click for Detail | 6. Click for Detail |
 |
 |
 |
 |
 |
 |
| 7. Click for Detail | 8. Click for Detail | 9. Click for Detail | 10. Click for Detail | 11. Click for Detail | 12. Click for Detail |
 |
 |
 |
 |
 |
 |
| 13. Click for Detail | 14. Click for Detail | 15. Click for Detail | 16. Click for Detail | 17. Click for Detail | 18. Click for Detail |
 |
 |
 |
 |
 |
 |
| 19. Click for Detail | 20. Click for Detail | 21. Click for Detail | 22. Click for Detail | 23. Click for Detail | 24. Click for Detail |
 |
 |
 |
 |
 |
 |
| 25. Click for Detail | 26. Click for Detail | 27. Click for Detail | 28. Click for Detail | 29. Click for Detail | 30. Click for Detail |
 |
 |
|
|
|
 |
| 31. Click for Detail | No image | No image | No image | No image | No image |
Working out the correct procedure
It is true that if you asked 10 people how they would use dope on fabric you would probably get 11 different answers. It seems everyone has their own way of making it work for them. I rang dope suppliers, well respected model makers, and then finally I contacted Vintage Fabrics a company in the UK who cover and finish full size aircraft with natural and synthetic materials. A special thanks to Clive Denney for his help.
And so a set of general rules were taken on board which should help achieve perfect results.
Rule 1. Heat is the key. Warm sunny summer days are OK but it does not have to be radiant heat from the Sun to work. I decided to make a small tent in my garage and heat it to 30°C - 35°C for this process. Summer was coming to an end in the UK when I was wanting to do the doping so it made sense.
Rule 2. Use Nitrate dopes ONLY on natural fabrics. The strongest message I got was to avoid using Butyrate dopes to tighten the fabric. Using a low tautening dope rather than a non tautening dope for the first coat was also suggested as an option but not compulsory. Once the fabric was tight it would be OK to finish with non tautening Butyrate if so desired but not recommended. So I have some spare Butyrate dope if anyone is interested!
Rule 3. Don't apply more than one coat every 24 hours. Easy enough to do, and to be honest I already have been doing this.
Correcting what has gone wrong so far.
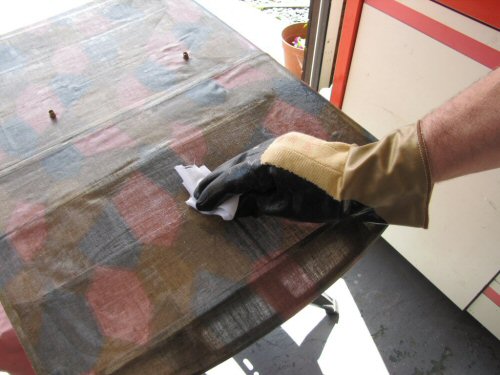
I was advised to remove as much Butyrate dope as possible from the fabric before using Nitrate dope to tighten it up. To do this I needed wash the fabric with MEK (Methyl Ethyl Ketone) as it has more "bite" compared to the standard thinners.
Experimentation
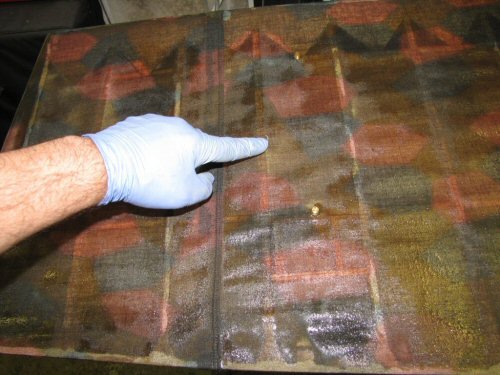
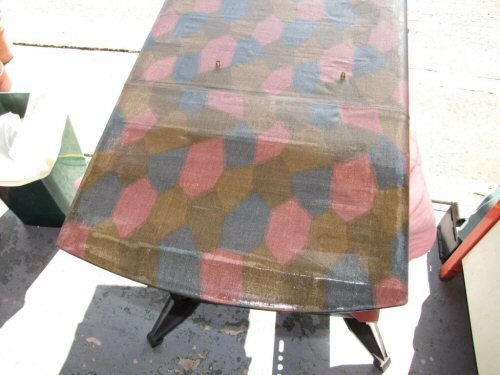
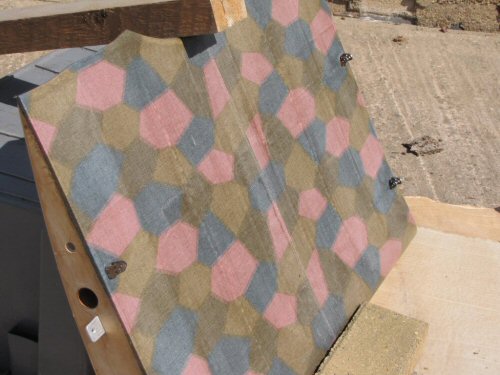
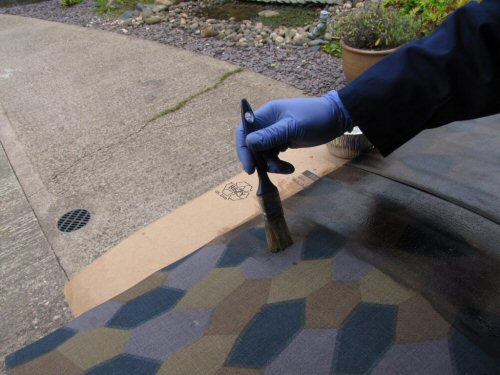
And so to experiment. I decided to make up another test frame and try the warm tent procedure. While I did this test I noticed that the very first coat of low tautening dope I applied (20% Nitrate tautening dope, 30% Nitrate non tautening dope, 50% thinners) does still loosen off the fabric. The weight of the brush being wiped over the fabric seems to open the weave and slacken everything off.
Knowing this I decided to try another procedure. After covering another frame and wetting the fabric as normal I decided to spray 20% low tautening dope to the fabric. It was difficult to gauge the amount of material that had sprayed on, but you could see it go wet so I didn't over do this part of the process, but maintained an even coverage as best I could gauge by eye. The frame went in the warm tent for a few hours. Still there was some slackening, but subsequent coats of tautening dope went on with far better results.
On a safety note you need to have suitable equipment when spraying highly flammable materials, and in addition I recommend grounding the spray gun as well to prevent static build up. If you are not sure what to do then please do not attempt it at home as you could end up with a fire situation!. I am convinced using a brush will yield the same results.
First job to correct what has gone wrong on the underside. . .
 |
 |
 |
 |
 |
 |
| 1. Click for Detail | 2. Click for Detail | 3. Click for Detail | 4. Click for Detail | 5. Click for Detail | 6. Click for Detail |
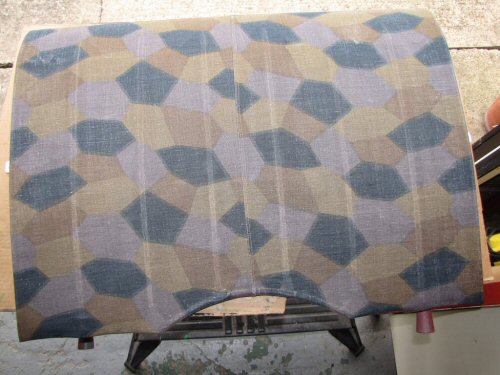
Top side lozenge application.
 |
 |
 |
 |
 |
 |
| 1. Click for Detail | 2. Click for Detail | 3. Click for Detail | 4. Click for Detail | 5. Click for Detail | 6. Click for Detail |
 |
 |
 |
 |
 |
 |
| 7. Click for Detail | 8. Click for Detail | 9. Click for Detail | 10. Click for Detail | 11. Click for Detail | 12. Click for Detail |
 |
 |
 |
 |
 |
 |
| 13. Click for Detail | 14. Click for Detail | 15. Click for Detail | 16. Click for Detail | 17. Click for Detail | 18. Click for Detail |
 |
 |
 |
 |
 |
 |
| 19. Click for Detail | 20. Click for Detail | 21. Click for Detail | 22. Click for Detail | 23. Click for Detail | 24. Click for Detail |
 |
 |
 |
 |
 |
 |
| 25. Click for Detail | 26. Click for Detail | 27. Click for Detail | 28. Click for Detail | 29. Click for Detail | 30. Click for Detail |
 |
 |
 |
 |
 |
 |
| 31. Click for Detail | 32. Click for Detail | 33. Click for Detail | 34. Click for Detail | 35. Click for Detail | 36. Click for Detail |
 |
 |
 |
 |
 |
 |
| 37. Click for Detail | 38. Click for Detail | 39. Click for Detail | 40. Click for Detail | 41. Click for Detail | 42. Click for Detail |
Finishing touches to the wings.
After the rib tapes were applied I gave the wings a final Nitrate non tautening dope application with about 25% thinners. I used the warm tent as previous for this process.
I have been asked by a few people for some notes on what I would do if I was starting again. Well the procedure would be as per the upper surface doping procedure for sure. I actually don't think it was necessary to spray the first application of dope with all the hazards associated with it. I will probably use the brush all the way next time . . . . . .
For a downloadable summary of tips please click here. I welcome any comments from you on this subject.
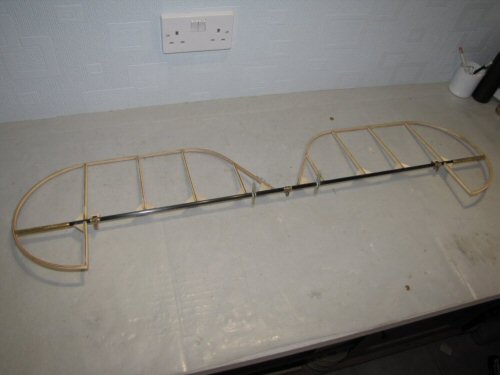
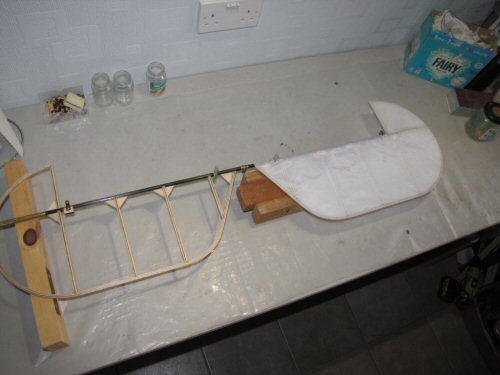
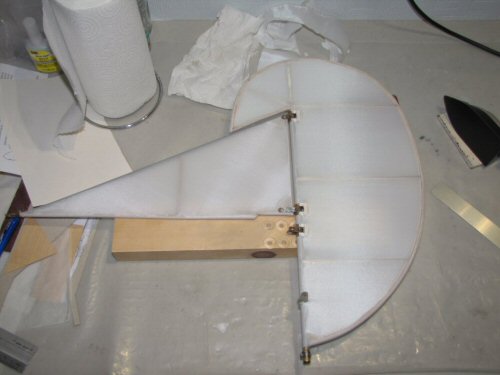
Covering the empennage
Jasta 65 were belived to have the tail beathers chocolate brown for the horizontal stab and white for the fin and rudder. In an effort to save waight at the tail I am covering with synthetic Diatex 1000 and non tautening dope.
Starting with the rudder and fin . . .
 |
 |
 |
 |
 |
 |
| 1. Click for Detail | 2. Click for Detail | 3. Click for Detail | 4. Click for Detail | 5. Click for Detail | 6. Click for Detail |
 |
 |
 |
 |
 |
 |
| 7. Click for Detail | 8. Click for Detail | 9. Click for Detail | 10. Click for Detail | 11. Click for Detail | 12. Click for Detail |
 |
 |
 |
 |
|
|
| 13. Click for Detail | 14. Click for Detail | 15. Click for Detail | 16. Click for Detail | 17. Click for Detail | 18. Click for Detail |
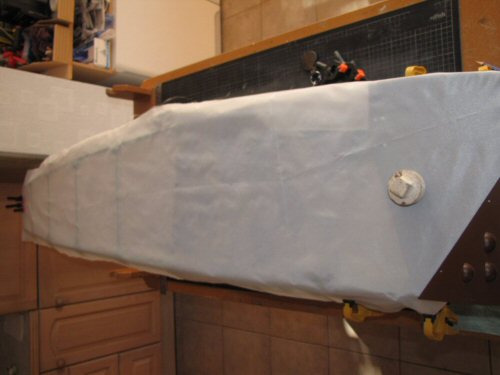
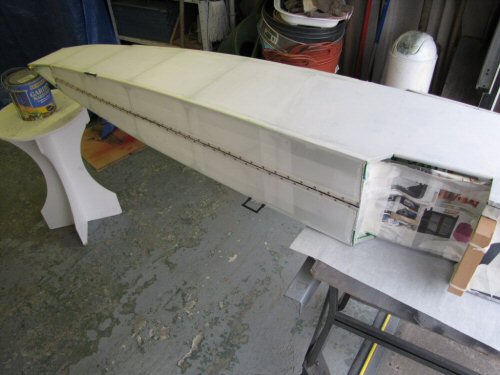
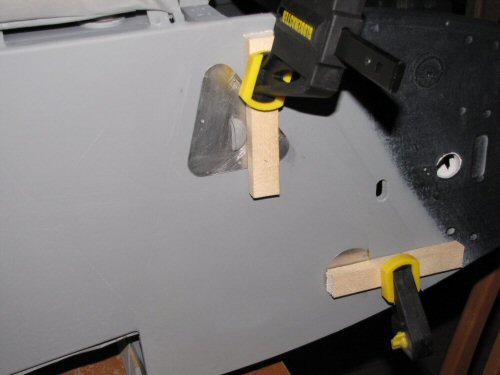
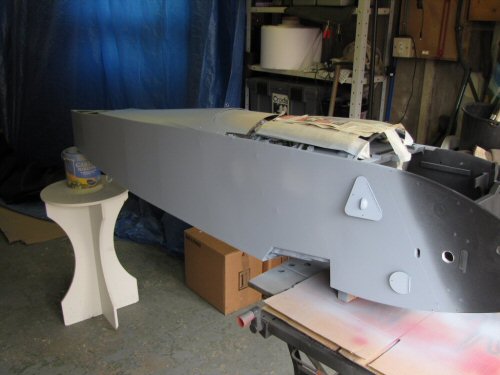
Covering the Fuselage
The fuselage of the full size was painted a pale blue or a shade of light grey over the 4 colour lozenge. Therefore to give the impression it was covered in lozenge from the cockpit area I applied f colour fabric first before applying Diatex 1500.
 |
 |
 |
 |
 |
 |
| 1. Click for Detail | 2. Click for Detail | 3. Click for Detail | 4. Click for Detail | 5. Click for Detail | 6. Click for Detail |
 |
 |
 |
 |
 |
 |
| 7. Click for Detail | 8. Click for Detail | 9. Click for Detail | 10. Click for Detail | 11. Click for Detail | 12. Click for Detail |