
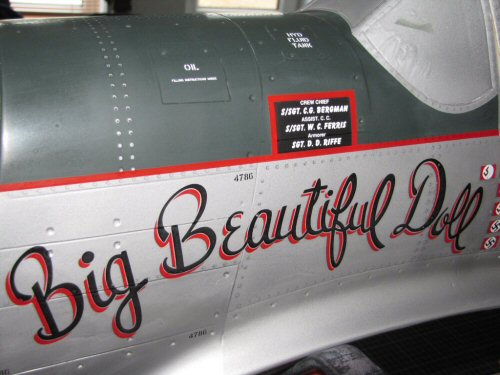
YT International P51D - DetailingWell it's time to detail the model now and I will stick with my original plans for Big Beautiful Doll as I still like it, even though it has been copied many times. I also have the artwork on file having done it for several customers! I will continue to use Klass-Kote paints as explained in the Painting section as an example of best practice. |
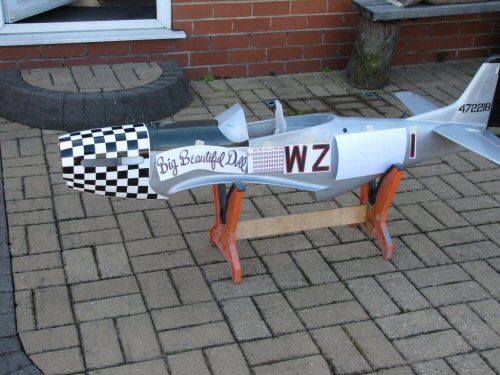 |
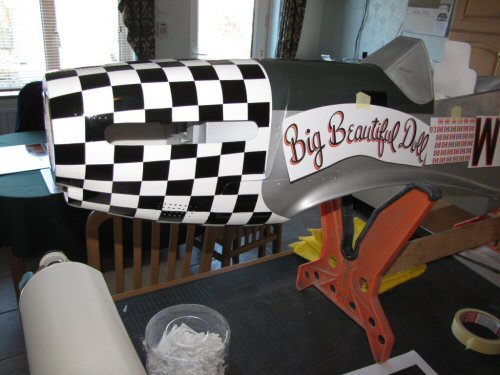
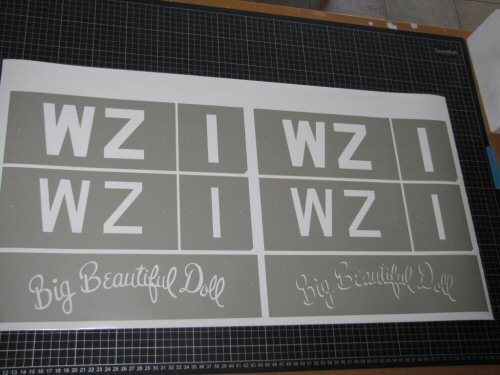
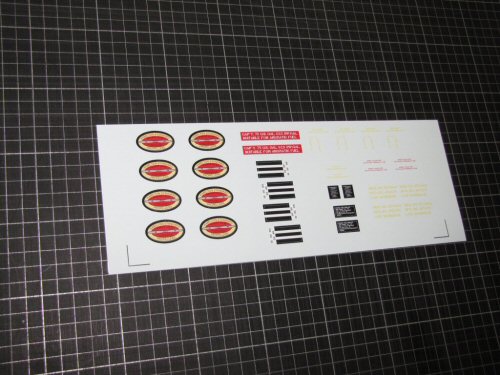
With most of the artwork completed it was a simple matter of deciding the size of insignia to use, and to adjust the remaining artwork to give a good fit. The Port side is very crowded so I wanted to make sure everything fits snugly. The above picture shows the markings I printed out to scale on paper to check my measurements.
The insignia, kills, and nose art text will all be painted. Maintenance marks will be added using Dry Rubdown decals.
So let's get started . . . |
 |
 |
 |
 |
 |
 |
| 1. Click to enlarge | 2. Click to enlarge | 3. Click to enlarge | 4. Click to enlarge | 5. Click to enlarge | 6. Click to enlarge |
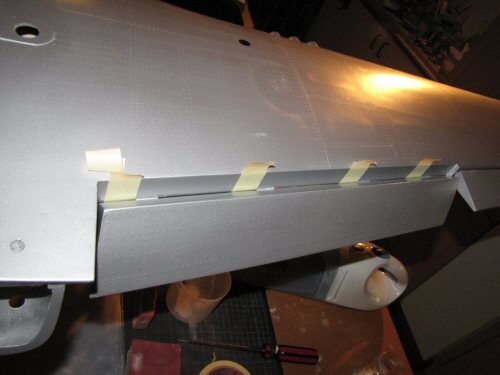
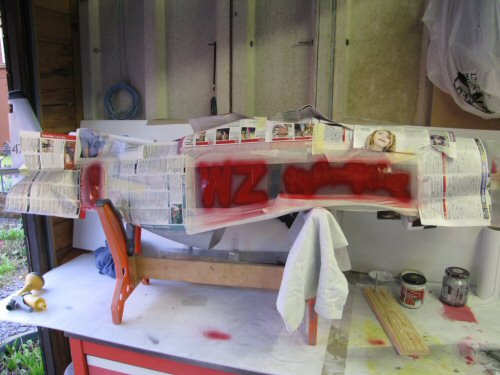
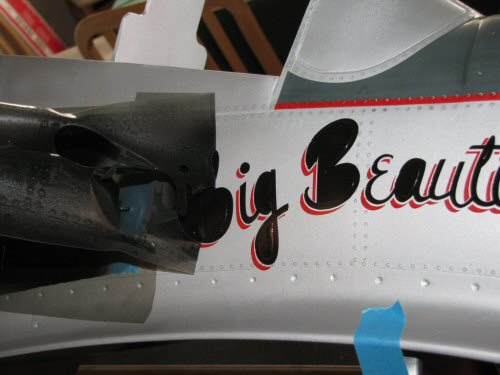
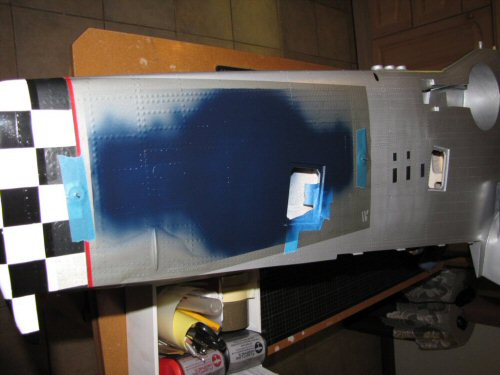
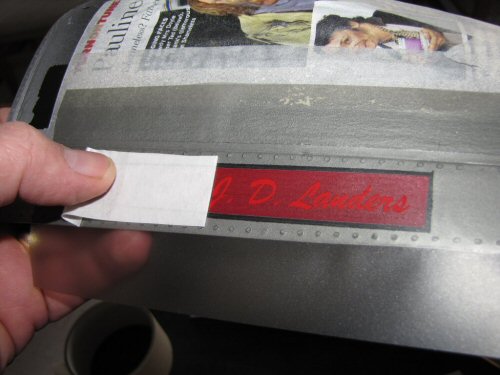
Pic 1. I made sure all the hinge points were OK before I started to add the insignia. I know they should be good but I like to check. Pic 2. A closer view of the markings at the front end. To do all the side in single colour sets is not really practical, so I decided to paint the kills first. I did not have my camera with me while they were painted but they were produced from 3 masks, painting order, red, white and finally black. Pic 3. The fuselage paint masks for the red and white are shown here. Pic 4. Once the location of the markings had been decided it was a simple matter of fixing the masks down with their registration pins. You can see the kills are covered over with the alignment pins demonstrating why they had to be painted first. Pic 5. Starboard side view of the masks after painting with several light passes of red. Because of the finer detail I decided to allow the paint to dry for 2 hours before removing the masks. Pic 6. And here we have the red shadow of the text after the mask was removed. I will wait 24hrs. before painting the black. The red paint was lightly flattened with some1200 wet & dry before applying the black masks. This removes any imperfections or edges.
|
 |
 |
 |
 |
 |
 |
| 1. Click to enlarge | 2. Click to enlarge | 3. Click to enlarge | 4. Click to enlarge | 5. Click to enlarge | 6. Click to enlarge |
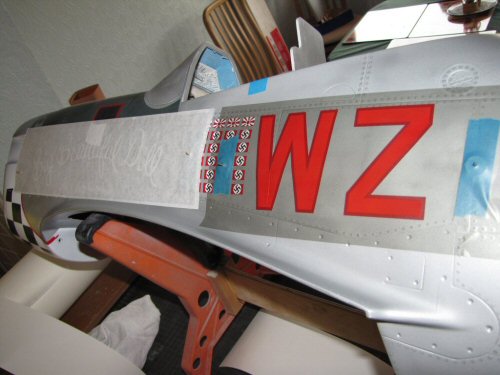
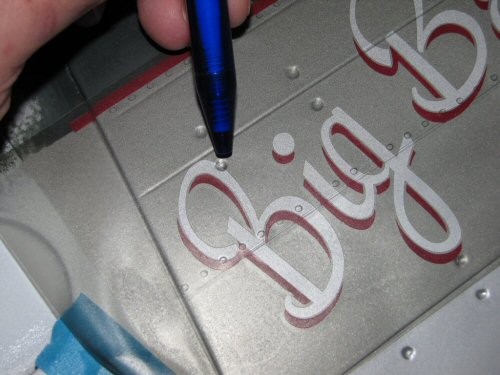
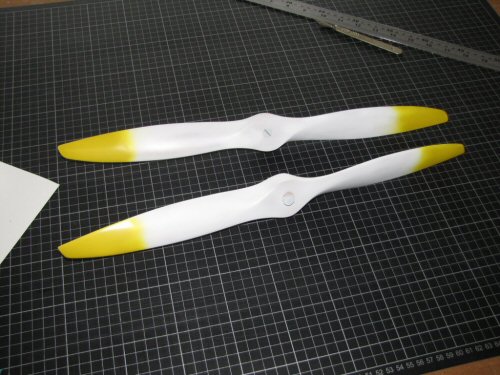
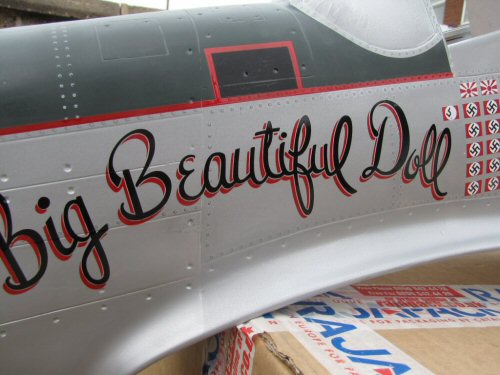
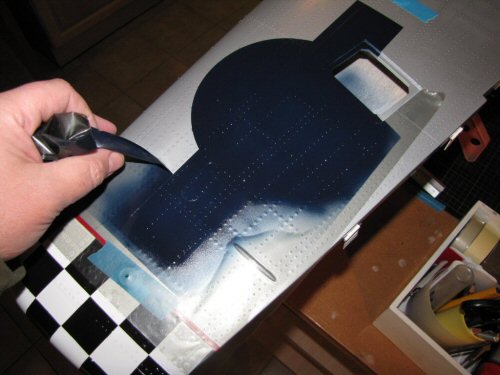
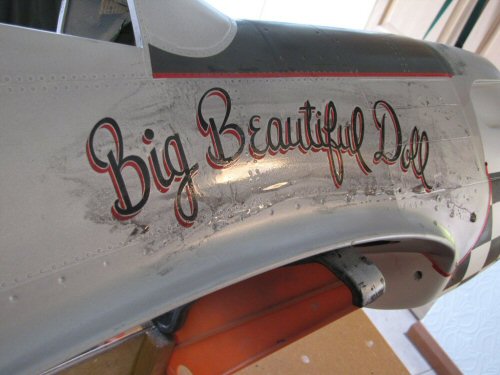
Pic 1. So on with the masks for the black. A good thing about the translucent masks is that you can see how it aligns with everything else! Pic 2. The mask over-runs some of the moulded indentations on the fuselage as highlighted in this picture. I use pens, cotton buds and similar small implements to encourage the mask into the hollows. Best done on a warm day when the mask is very malleable. Pic 3. While the model was getting painted I decided to paint up some 18 x 8 wood propellers to fit the model better. Pic 4. Black is applied over several light passes with an air brush. All of the black for these markings was achieved with 15cc of paint before diluting! Just shows how good the pigment levels are in Klass Kote paints. Pic 5. The masks coming off after a few hours drying. The bits of mask left behind were lifted with a pin before peeling off with tweezers. Pic 6. The finished result looks fantastic to me :))
|
 |
 |
 |
 |
 |
 |
| 1. Click to enlarge | 2. Click to enlarge | 3. Click to enlarge | 4. Click to enlarge | 5. Click to enlarge | 6. Click to enlarge |
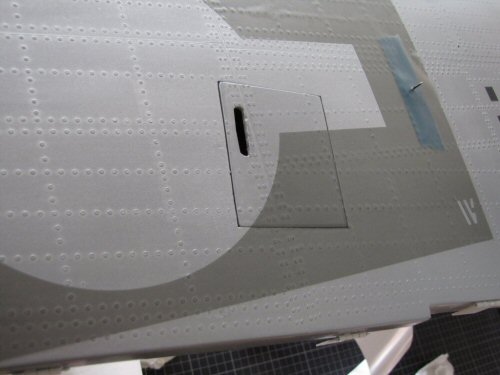
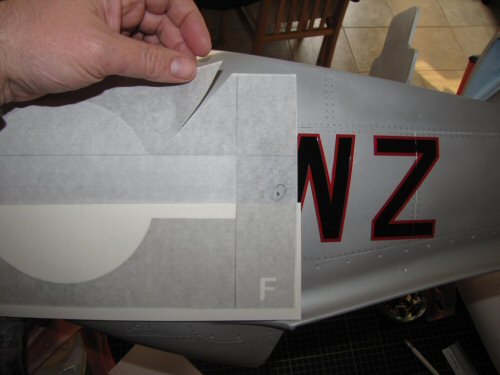
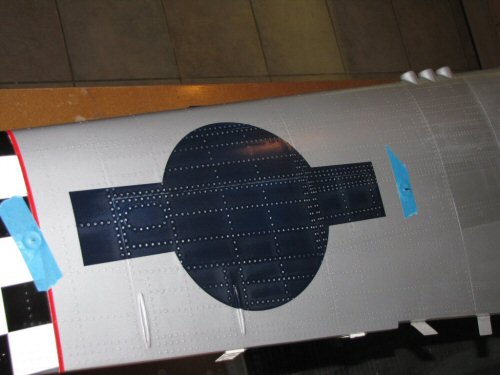
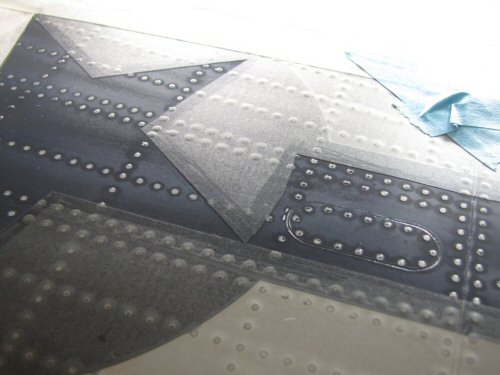
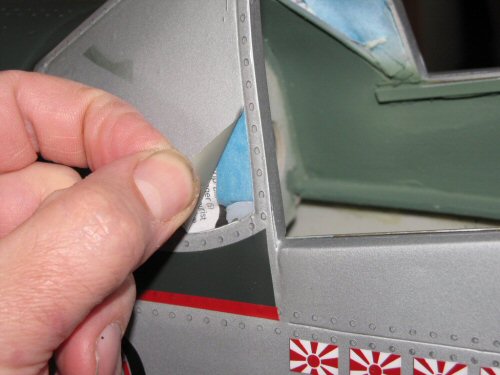
Pic 1. Quickly moving onto the insignia now and the masks were carefully positioned before laying them on the wing. Pic 2. Added complication of the servo panel in the scheme, but you just simply lay the mask down over the installed plate, cut it out with a sharp scalpel blade and mask everything up. Pic 3. The fuselage masks gave a large compound curve behind the cockpit so a slit was introduced to prevent pulling the mask as it was laid flat. Pic 4. After spraying the mask was removed immediately. Pictured here just before the actual mask was removed. Pic 5. Working my way round the edges carefully lifting off the mask. Again the paint was given an overnight stand to dry. Pic 6. As with the red colour previous the paint was cut back. I had to be careful with the rivet detail here not to over do the rubbing.
|
 |
 |
 |
 |
 |
 |
| 1. Click to enlarge | 2. Click to enlarge | 3. Click to enlarge | 4. Click to enlarge | 5. Click to enlarge | 6. Click to enlarge |
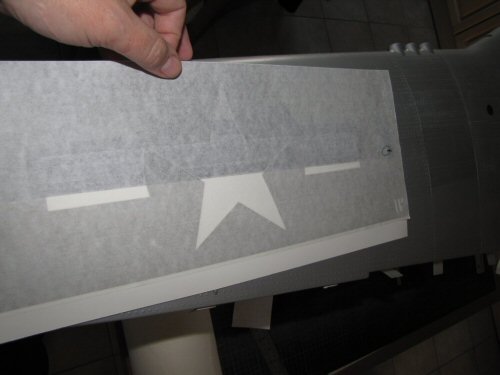
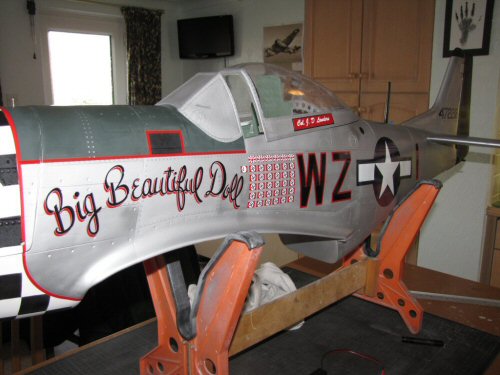
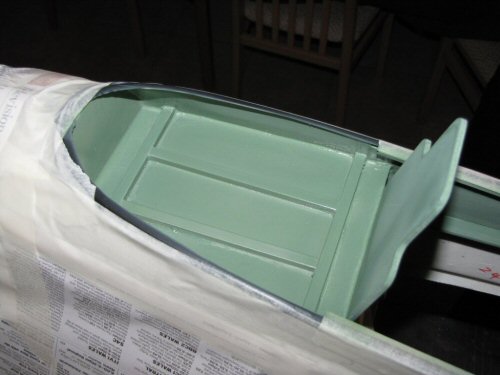
Pic 1. The stars are going on following the correct application procedure. Pic 2. The edges that get painted up to are rubbed down with the side of a spoon handle to given a little extra encouragement to form a seal for the paint. Pic 3. I was also painting the name plate on the canopy while painting the rest of the model. Here the mask for the name is going on. Pic 4. On goes the white over several light passes. Pic 5. After everything was dry the model is really coming to life. Pic 6. The rear deck is given a painting with some Humbrol enamel paint.
|
 |
 |
 |
 |
 |
 |
| 1. Click to enlarge | 2. Click to enlarge | 3. Click to enlarge | 4. Click to enlarge | 5. Click to enlarge | 6. Click to enlarge |
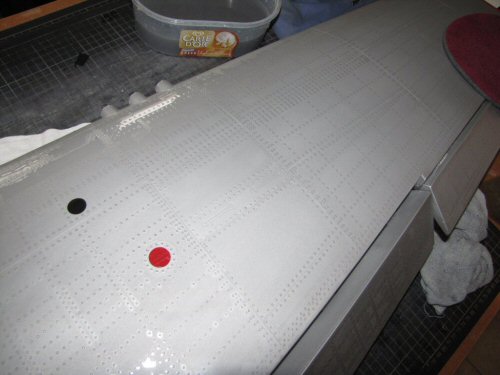
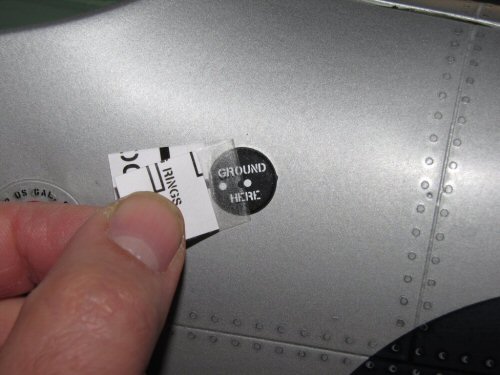
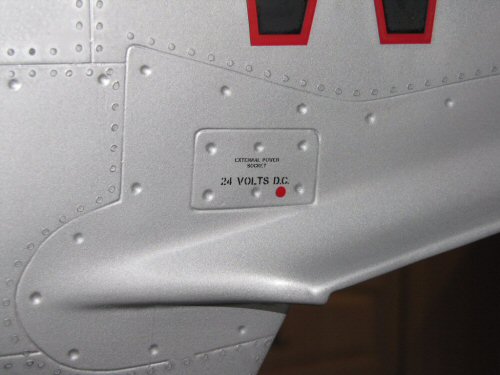
Pic 1. A final cut back of the black paint here. Also treated were the white stars and bars. Pic 2. The wings were given a cut back to expose the slight colour difference in the paint used for the rivets. Pic 3. Next the small nomenclature was added using Dry Rub decals. Pic 4. Each marking is produced separately and applied. Pic 5. White was used for the crew plate and some additional marks. Pic 6. Print can go very small indeed, and in actual fact it's your printers output that limits what you can produce!
|
 |
 |
 |
|||
| 1. Click to enlarge | 2. Click to enlarge | 3. Click to enlarge | 4. Click to enlarge | 5. Click to enlarge | 6. Click to enlarge |
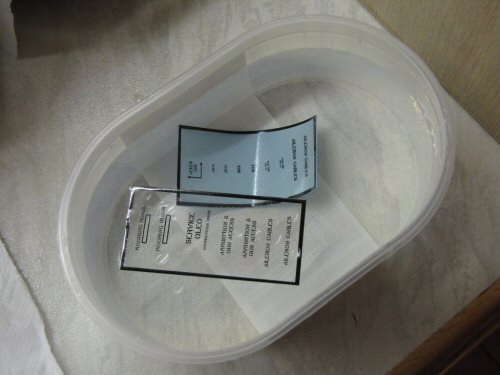
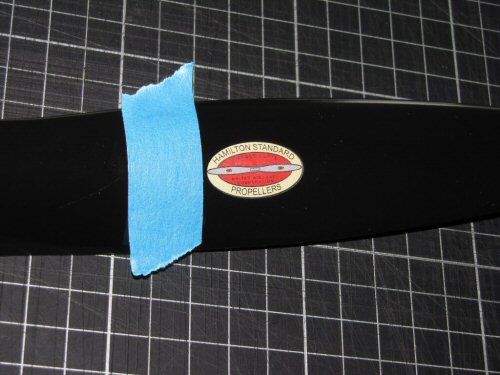
Pic 1. Waterslides were used to produce some of the other markings. Some ended up not getting used as they looked wrong on this model (specifically the flap angle indicators). Pic 2. The Hamilton logo was applied to the propellers to finish them off. Pic 3. The whole model was given a satin Klass Kote clear to give a uniform sheen before finally removed the tape over the canopy so the pilot can see where he is going ! Pic 4. Pic 5. Pic 6.
|
| The painting continues . . . |